
How to Winterize an Outdoor Sauna - A Practical Guide
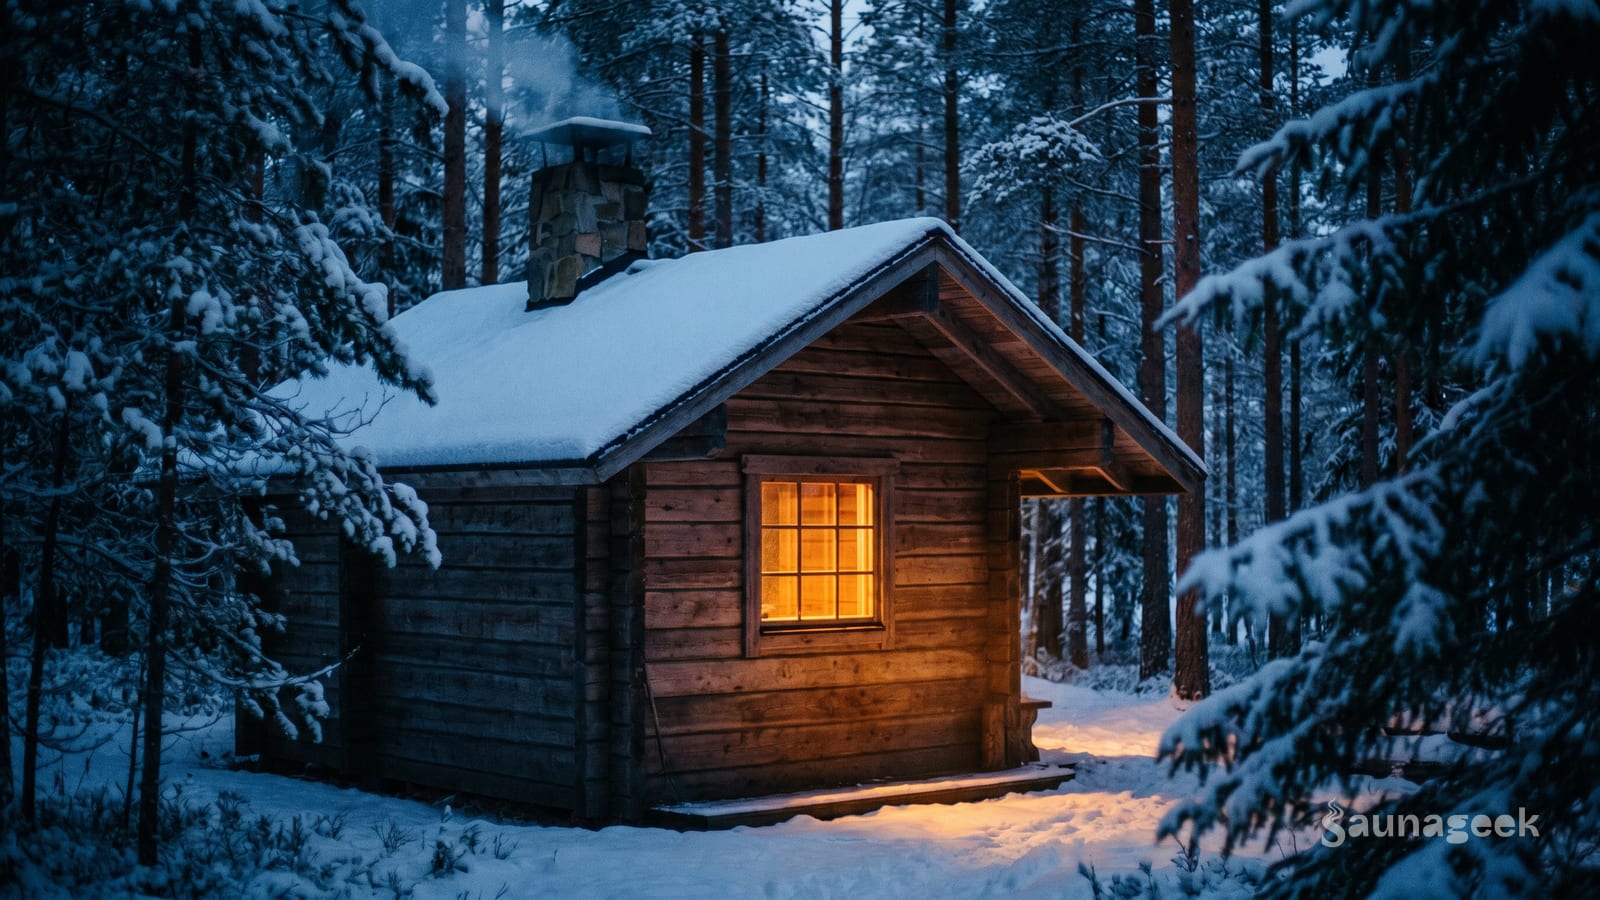
Outdoor saunas take winter seriously. So should you. A few hours of prep before temperatures drop means fewer repairs come spring and, more importantly, months of the best sauna sessions of the year. Here’s what to actually do.
Do You Actually Need to Winterize?
Short answer: yes. Longer answer: it depends on how you use it.
If you plan to run your sauna all winter, your prep is about performance and efficiency. If you’re shutting it down for the season, you’re protecting the structure from moisture damage and freeze-thaw cycles. Both scenarios matter. The good news is that winterizing is a few hours of work, not a weekend project. Knock it out before the first real freeze and you’re set.
Inspect the Exterior Wood
Your sauna’s exterior takes the brunt of every season, and winter is the hardest on untreated surfaces.
Focus on cedar and thermowood. These are the most common cladding materials, and they behave differently. Cedar is beautiful and rot-resistant, but it needs active protection. Thermowood is heat-treated during manufacturing, which makes it more stable and less prone to moisture uptake. Thermowood needs far less maintenance than untreated cedar.
What to look for: end grain at corners and joints (this is where water seeps in and causes the most damage), any gaps or splits that opened up over summer, and UV damage. If the wood looks grey and chalky, it has lost its surface oils. Time to treat it.
Use a penetrating oil. Film-forming sealers peel and crack after a season or two, especially on curved surfaces. They trap moisture underneath and accelerate the problem you’re trying to prevent. A good penetrating oil soaks in, protects from within, and ages naturally. Apply it on a dry day when temperatures are above 10°C (50°F) so the oil can absorb properly.
Check and Replace Door Seals
The door is your biggest heat-loss point. Cold air leaking in around a degraded seal forces your heater to work harder and turns your sauna into a drafty tent.
Test the seal. On a windy day, run your hand along the frame edges. You’ll feel cold drafts even if the door appears closed. Another check: look at the gasket material itself. If it’s compressed, hardened, or cracked, it needs replacing.
Tempered glass doors typically use silicone gasket strips around the glass perimeter. These degrade over time, especially on south-facing installations that bake in summer sun. Replace them if they show any sign of hardening or cracking. While you’re at it, check the hinges. Cold weather makes metal contract, and loose hinges can cause the door to sit slightly crooked, creating a gap you didn’t have in summer.
Get the Heater Ready
Electric and wood-burning heaters need different prep. I’ll take them separately.
Electric Heater
Turn off power at the breaker before doing anything. Wait, actually, do this before any inspection step involving physical contact with heater components.
Check the elements for mineral buildup, especially if you have hard water and throw water on the stones. White crusty deposits reduce heating efficiency and can cause hot spots that shorten element life. If buildup is heavy, replace the elements. Most residential sauna elements are straightforward to swap and relatively inexpensive.
Inspect the stones. Remove any that are cracked or crumbling. Replace them with proper sauna stones rated for the temperature range. When restacking, don’t pack them tightly. Stones need air circulation to heat evenly and to prevent thermal shock when water hits them.
Wood-Burning Heater
Open the firebox and inspect it for cracks or damage. Then check the chimney. Creosote buildup is the real concern. A thick layer burns hotter than expected and can ignite a chimney fire. If you haven’t inspected since last spring, assume there’s buildup and deal with it before lighting your first winter fire.
Stock seasoned hardwood. Avoid green wood or anything soft like birch that hasn’t been dried for at least a year. Seasoned hardwood burns clean, produces more heat, and creates less creosote. Keep it covered but allow some airflow so it doesn’t absorb moisture over winter.
One thing that surprises first-time winter wood-burners: heat-up time. In summer you might fire up and be ready in 30 minutes. In -15°C (5°F) conditions, budget 60 minutes or more. This is normal. The cold mass of the structure, frozen ground, and cold air all pull heat away. Start early and be patient.
Barrel Sauna vs. Cabin Sauna - Different Concerns
Most guides treat all outdoor saunas the same. They shouldn’t. Barrel and cabin saunas have fundamentally different winter profiles.
Barrel saunas shed snow naturally off the curved walls. You won’t be on the roof shovelling. Their ventilation relies heavily on the gap under the door. That gap is intentional, and it works fine in moderate climates. In deep cold, though, expect more cold air infiltration at floor level. This is one reason many barrel sauna owners add a tight-fitting interior threshold or secondary seal.
Cabin saunas have flat or pitched roofs that accumulate snow load. Most are engineered for this, but if you get a heavy wet snow, keep an eye on it. A soft broom or roof rake is the tool. Cabin saunas also typically have dedicated intake and exhaust vents, which means you have more control over airflow but also more things that can fail or ice over.
Foundation and Drainage
Frost heave is real. When the ground freezes and thaws, it moves. If your sauna’s foundation isn’t on stable, well-drained ground, the structure shifts in ways that crack seals, misalign doors, and stress wall joints.
Check that your base is level. Use a long spirit level or a phone app. If it’s off more than a centimetre over two metres, investigate why. For concrete pads, make sure water drains away from all four sides. For gravel or paver bases, check that drainage hasn’t pooled and frozen in one area.
Ice buildup against the walls is worth clearing. Ice against wood cladding isn’t ideal, and ice at the entrance is a safety hazard. A simple shovel and a bit of sand or salt on the approach keeps things manageable.
Ventilation in Freezing Temperatures
Do not block your vents entirely.
Intake and exhaust vents serve different purposes. The intake brings combustion air (for wood burners) and fresh air for breathability. The exhaust removes moist air and any combustion byproducts. Blocking either one causes problems. Closing the intake on a wood burner is particularly dangerous, as it can push smoke back into the sauna.
What you can do: partially close the intake vent near the heater in very cold weather to reduce the amount of cold air that sweeps across the floor. This makes the space more comfortable without starving the fire. Leave the exhaust vent alone. If your intake is located low and near the heater, a partial close is the only adjustment most setups need.
Electrical System Check
Water and electricity don’t mix. In winter, this risk increases. Snowmelt, condensation, and ice can find their way into junction boxes and enclosures that held firm in summer.
Inspect conduit runs for cracks or openings. Check that weatherproof enclosures around connections are actually weatherproof, not just labeled that way. Look closely at WiFi-enabled controllers, because these are often installed indoors and then moved outside without proper housing. If your controller says “indoor use only” and it’s mounted on an exterior wall, add a weatherproof enclosure or relocate it. The cost is low. The consequence of ignoring it is not.
Snow and Ice Management
Barrel sauna: brush off after heavy snowfall. That’s usually it. The curved shape sheds snow well, and the walls don’t hold much of a load.
Cabin sauna with a flat or low-pitched roof: monitor snow accumulation. A heavy wet snow can weigh significantly. Use a soft broom or roof rake to clear it before it compacts. Do not use a metal shovel that can damage the roof surface.
The path to your sauna matters more than the roof. Icy footing under bare feet is how people get hurt. Salt, sand, or a wooden walkway keeps the approach safe. This is the practical step most people skip until they slip.
Winter Use - What Changes
Once you’ve prepped, running the sauna in winter is mostly the same with a few adjustments.
Preheat time increases. In moderate cold (0 to -5°C / 32 to 23°F), expect 40 minutes. In deep cold (-15°C / 5°F and below), budget 60 minutes or more. Your heater is working against a colder structure, colder air infiltrating through every gap, and cold mass in the walls and bench. Start early.
Löyly feels different in winter. Cold outside air holds less moisture than warm summer air, even before it enters the sauna. When you pour water on the stones, you get a more volatile, intense steam burst. Some people dial back their pour amount. Others embrace it. Experiment and adjust to taste.
If you’re not using the sauna regularly through winter, run the heater for 30 to 60 minutes weekly. This keeps moisture from settling in the structure, prevents musty odours, and stops the wood from acclimating to cold damp conditions. A regular heating cycle is cheap insurance.
Why Winter Is Actually the Best Season
Here’s the part competitors skip. Winterizing isn’t just about avoiding damage. It’s about access to the best contrast therapy conditions of the year.
Contrast bathing works because of temperature differential. The larger the gap between hot and cold, the more pronounced the physiological response. Stepping from a 180°F (82°C) sauna into -10°C (14°F) air delivers a far more powerful stimulus than the same move on a 15°C (59°F) autumn evening. Your circulation responds harder, your skin wakes up more aggressively, and that post-sauna glow lasts longer.
Cold plunging, snow rolling, or simply standing in a cold yard becomes the counterpoint that makes the heat worthwhile. Finnish sauna culture has always understood this. The best löyly sessions happen in the coldest months, and they’re worth every minute of prep you put in now.
Get winterized. Get out there. The cold is the point.