Sauna LED Ceiling – How to Install Lighting That Won't Fail
Installing a sauna LED ceiling setup is entirely feasible, provided you pick the right products and install them correctly. The short version: 12V or 24V, IP65 minimum, rated for 70-110 °C. Read on and the article will tell you exactly why those specs matter and how to do it right.
Is LED Lighting Safe in a Sauna Ceiling?
Yes. The danger isn’t the lighting itself; it’s using the wrong product. Standard LED strips sold at hardware stores are built for indoor ambient conditions, typically rated below 40 °C. A sauna ceiling runs 90-110 °C (194-230 °F) in a traditional Finnish setup. Put standard LEDs up there and they will fail, sometimes within weeks. Adhesive melts. The encapsulation turns brittle and yellows. Light output drops. And a failed electrical component mounted near dry wood is not a conversation you want to have with your insurer.
The fix is straightforward: buy LEDs actually rated for sauna conditions. Low voltage (12V or 24V), sufficient IP rating, and genuine heat resistance.
Understanding the Sauna Ceiling Environment
Heat rises. This elementary fact is the reason ceiling mounting is the most demanding placement in a sauna. The upper zone near the ceiling consistently registers the highest temperatures and the highest humidity. Steam collects at the top before dissipating. Every parameter that matters for LED performance (ambient temperature, moisture exposure, thermal stress on adhesives and encapsulants) is at its worst at the ceiling.
Most consumer-grade LED strips list a maximum ambient temperature of 30-40 °C. A working sauna runs well beyond that. The LEDs at your ceiling need to be the highest-spec component in your lighting setup, not an afterthought.
Essential Specifications for Sauna Ceiling LEDs
Do not buy anything that doesn’t explicitly state these ratings on the datasheet, not just the product listing.
Voltage: 12V or 24V only. Higher voltages add unnecessary risk with no meaningful benefit in a sauna context. Some installers prefer 24V because it reduces voltage drop over longer runs; if your ceiling layout is complex or spans more than about 5 metres, 24V is worth considering.
IP rating: IP65 minimum. IP65 means dust-tight and protected against water jets from any direction. If you’re mounting LEDs directly above the heater or in a steam room where steam exposure is direct and sustained, go to IP67 or IP68. IP65 handles normal splash and humidity; it does not handle sustained high-pressure steam.
Temperature rating: The component must be rated for 70–110 °C operating range. Read the datasheet. If the listing only says “heat resistant” without citing an actual temperature threshold, treat that as a red flag.
Certifications: Look for CE, RoHS, and ETL marks. These aren’t guarantees of sauna-specific performance, but they indicate the product has been independently tested for electrical safety and hazardous substance thresholds.
What to avoid: Any LED strip sourced from a hardware store shelf without temperature or IP specifications. The upfront price looks attractive. The replacement cost in six months, plus the labour of redoing the installation, will not be.
How to Install LED Strip Lights in a Sauna Ceiling
A perfect LED in the wrong spot or poorly mounted will still fail.
Plan cable routing before you mount anything. Run cables to a junction point near the wall, going downward, not upward into the ceiling void.
Mounting: do not rely on adhesive alone for ceiling installation. Heat softens adhesive. Gravity works against adhesive on a horizontal ceiling. Adhesive-backed strips will sag, peel, or fall within months. Use silicone mounting clips every 15-20 cm for mechanical support.
Transformer placement is critical: keep it outside the sauna room. Mount it in a dry, temperature-controlled area like a utility room or wall cavity on the dry side. Mounting it inside the sauna will cause it to overheat and fail, and in a worst-case scenario, create a fire risk. This is the most common point of failure in DIY sauna LED installations.
Wire specifications: Standard speaker wire is not adequate. Use high-temperature PVC or silicone-sheathed wire rated for sustained heat. Wire insulation degrades in a sauna environment, and compromised wire near wood is a serious concern.
Test before sealing. Check for flickering, verify IP seals are intact at every connection point, and confirm dimming works if your setup includes it. Fix problems before reassembling the sauna.
If your sauna is connected to 240V mains, hire a qualified electrician for the transformer connection. Low-voltage DC work is within reach of a competent DIYer.
Ceiling Lighting Layout Options
Three approaches work well for sauna ceilings, each with a different character.
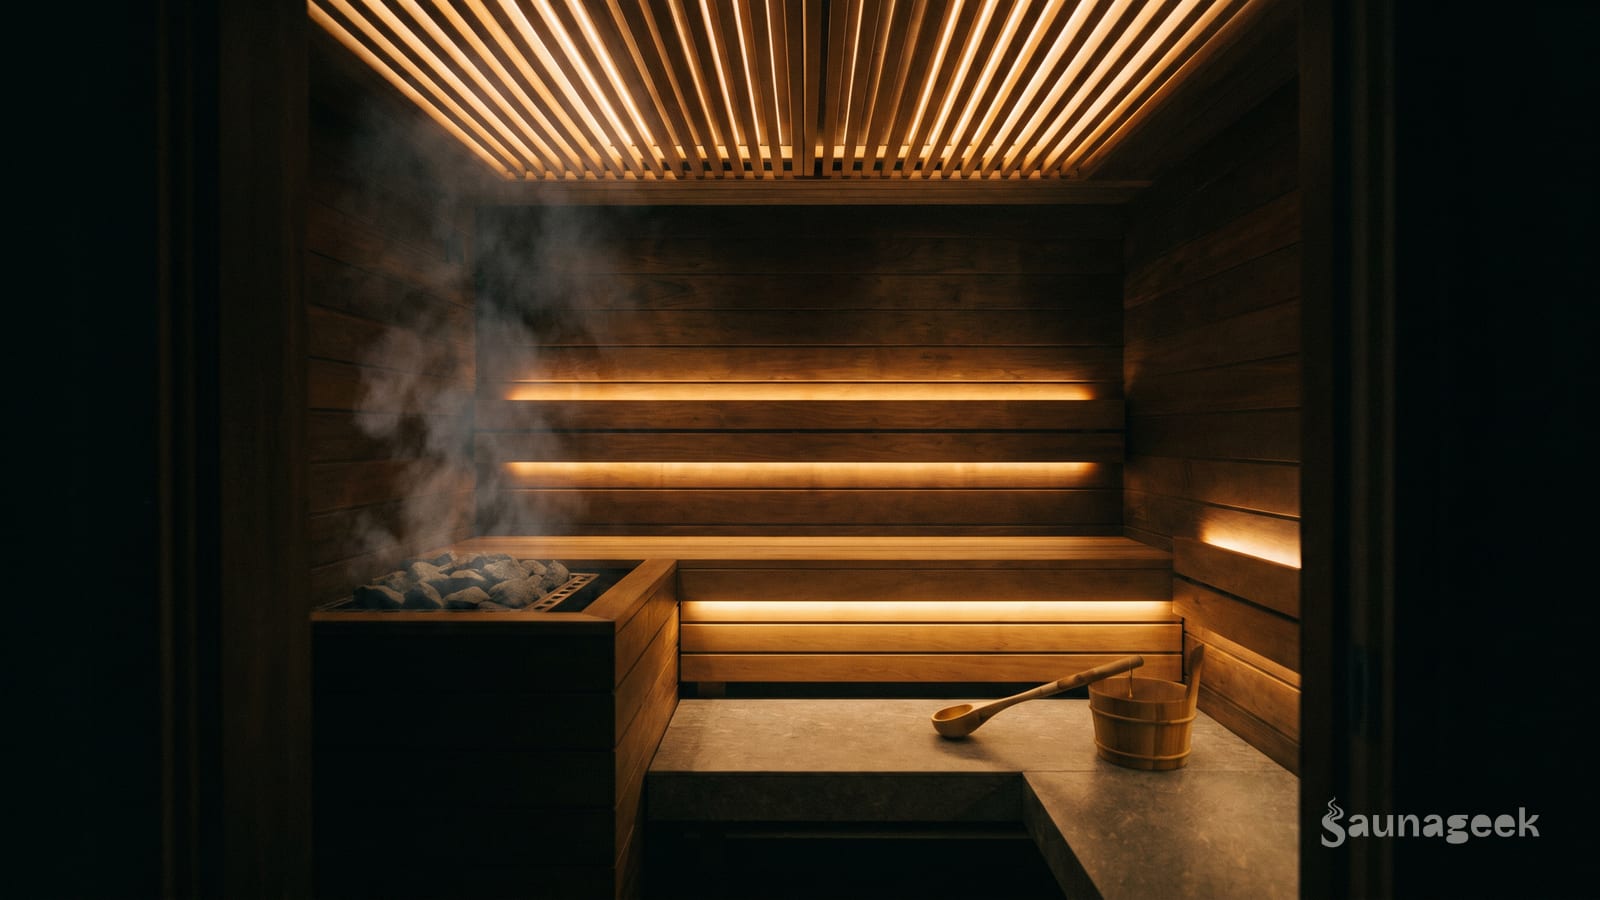
Perimeter strip: Run the LED strip along the edge where the ceiling meets the wall. Soft ambient glow, easy to conceal behind trim. For most home saunas, this is the right choice.
Full coverage strip: Runs across the full ceiling plane for brighter illumination. It can feel clinical; if you want brightness for maintenance, a separate work light makes more sense than running ambient lighting at full intensity.
Indirect with valance: Mount LEDs behind a wooden valance strip so light bounces off the ceiling. The softest result, but adds construction complexity and reduces light output.
For most people, the perimeter approach hits the right balance: practical to install, keeps the upper area dim and restful.
Color Temperature and Dimming
Warm white in the 2700K-3000K range is the correct choice for sauna. It complements wood tones and produces the atmosphere you’re paying for. Above 4000K starts feeling clinical; above 5000K looks harsh and works against the entire purpose of the space.
Dimmability is strongly recommended. A dimmer lets you set the right level for different users and sessions. Make sure the dimmer is rated for the load and the transformer handles variable input.
On RGB and color-changing strips: If you want them for visual variety, that’s a perfectly valid personal preference. Chromotherapy, the idea that specific colors produce therapeutic health effects, has no meaningful evidence behind it. Vendor articles spend a lot of words on color therapy benefits because it helps sell multi-color RGB strips at a premium. Buy color-changing strips because you like the look, not because they will improve your health. The light itself is doing the work.
Common Mistakes to Avoid
- Using outdoor LEDs not rated for high heat. Outdoor-rated and sauna-rated are different things. Outdoor strips handle rain and UV; they are not necessarily rated for sustained 90 °C+ ambient temperatures.
- Mounting the transformer inside the sauna. As covered above; it will overheat, fail, and potentially create a hazard.
- Sealing connections with standard electrical tape. Use heat-rated sleeving or proper heat-shrink connectors rated for the operating temperature range.
- Running a single long strip without accounting for voltage drop. Strips longer than roughly 5 metres will dim noticeably at the far end. Split longer runs or use amplifiers to boost the signal.
- Skipping IP rating verification at connection points. The LED strip may be IP65 rated, but if your wire connectors and junction points aren’t equally protected, moisture will get in.
Frequently Asked Questions
Can you use LED lights in a sauna? Yes, if the LEDs are specifically rated for sauna temperature and humidity. Standard LEDs will fail quickly.
What IP rating do I need for sauna LED strips? IP65 minimum. Use IP67 or IP68 if the strips are mounted directly above a heater or in a steam room.
Where should I mount LED strips in a sauna? Ceiling perimeter, behind wall panels, or under the bench are the most common locations. Avoid placing strips near the heater outlet.
Can I install sauna LED lights myself? For low-voltage (12V/24V) LED strips, most competent DIYers can handle the installation. Any work involving a 240V mains connection to the transformer should be done by a qualified electrician.
Why do LED strips fail in a sauna? Almost always the wrong temperature rating. Standard LEDs are built for conditions far cooler than a sauna ceiling. The encapsulation yellows, the adhesive fails, and the light output drops, typically within months.