
How to Build an Outdoor Sauna Foundation - A Practical Guide
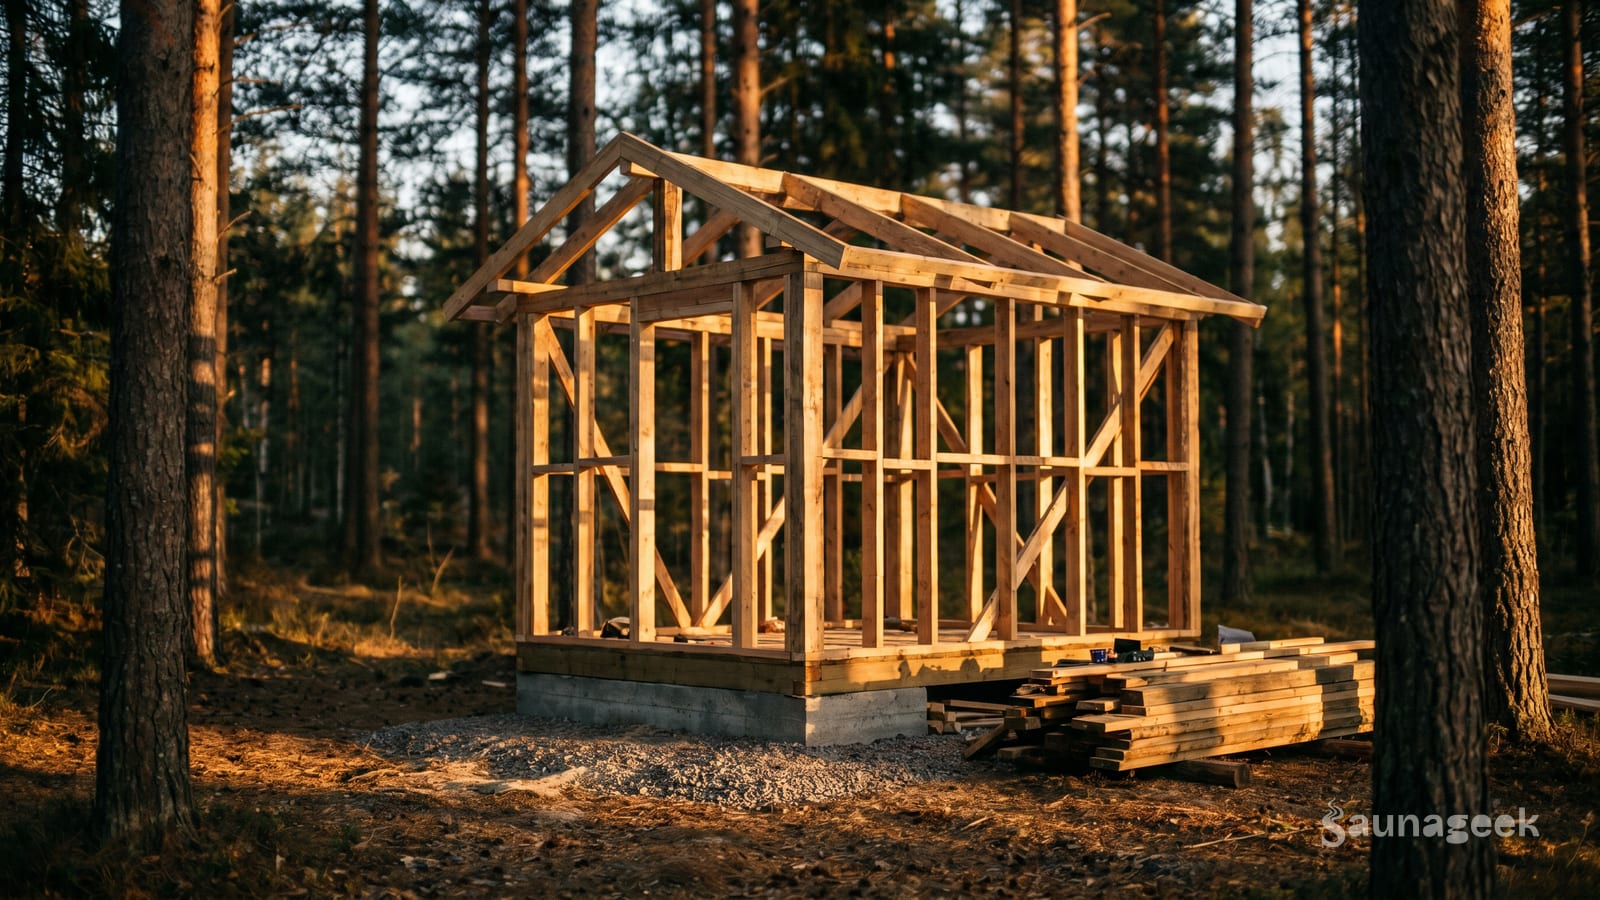
Building an outdoor sauna is exciting. The foundation? Less exciting, and easily underestimated. Get it wrong and you’ll be dealing with shifting floors, moisture damage, or a structure that no longer sits level after the first winter. Get it right and you won’t think about it again for decades.
This guide covers everything you need to know about choosing and building an outdoor sauna foundation. No fluff, no manufacturer’s sales pitch. Just what works.
Do You Actually Need a Foundation?
Short answer: yes.
Grass and dirt are not viable bases. They compress, shift with frost cycles, and hold moisture against wood. Your sauna will sit slightly off-level within a season, and within a few years you’ll have rot problems you can’t easily fix.
A properly prepared foundation does three things: it provides a flat, stable surface; it keeps moisture away from the sauna structure; and it distributes the weight evenly so heavy barrel saunas don’t sink on one side.
You don’t need a concrete engineer. Most DIY-friendly foundations handle the job fine. But you do need to actually build it.
Pick the Right Foundation Type for Your Situation
Not all foundations are equal. The right choice depends on your soil, climate, budget, and how handy you are with tools.
Here is a quick decision framework:
| Factor | What Points to Which Foundation |
|---|---|
| Flat yard, good drainage, tight budget | Gravel pad |
| Cold climate, heavy barrel sauna, permanent install | Concrete slab |
| Sloped yard, poor soil, drainage problems | Deck platform |
| Want something in between gravel and full pour | Pre-made concrete pad |
Soil type matters. Sandy soil drains well and is forgiving. Clay holds water and expands when frozen, which means frost heave can push a slab upward. If you have heavy clay, gravel with good drainage is often smarter than concrete unless you go deep below the frost line.
Climate is the deciding factor for most people in northern latitudes. If your ground freezes more than a foot deep in winter, your footings or gravel base need to sit below that frost line, or you need a floating slab thick enough to resist heave. In mild climates, frost concerns largely disappear.
Preparing Your Site Before You Touch Dirt
This step is the same regardless of which foundation type you choose. Don’t skip it.
Call 811 before you dig. In the US, this is a free service. It sends a locator to mark underground utilities within a few days. Hitting a gas line or fiber optic cable while excavating is an expensive and dangerous way to learn you should have made a phone call. Most countries have an equivalent utility locate service. Use it.
Mark the footprint generously. Your sauna footprint is not your foundation footprint. Extend the base at least 2 to 3 feet beyond all sides. This gives you room to work during construction, helps with drainage, and distributes weight outward rather than letting it concentrate at the edges.
Remove topsoil. Minimum 4 inches, more if the ground is soft. Topsoil is organic matter that decomposes and compresses. You want to excavate down to stable mineral soil or engineered fill.
Check your drainage. After removing topsoil, soak the area with a hose and watch where water flows. If it pools or drains toward where your sauna will sit, correct this before proceeding. Simple grading (sloping the ground away from the site) or a French drain fixes most drainage issues.
Leveling a sloped yard without expensive excavation. If you have a moderate slope (up to about 12 inches across a small sauna), use a tamping bar and crushed gravel to build up the low side, compacting in 4-inch lifts. For steeper slopes, a deck platform makes more sense than trying to fill and compact a massive volume of gravel.
Clear the delivery path. Most people plan the foundation and forget what happens when the delivery crew arrives with a crane or forklift. Make sure the path from the road to the site is firm enough to support equipment. Steel plates or matting over soft ground are cheap insurance.
Gravel Pad - The Most Popular Choice
Gravel is the right call for most backyards. It drains well, costs less than concrete, and a competent DIYer can build one in a weekend.
How to build it:
- Excavate to stable soil, minimum 4 to 6 inches deep across the full pad area.
- Install landscape fabric to prevent weed growth up through the gravel.
- Fill with compacted angular gravel (Class 5 or crushed concrete, 3/4-inch minus works well). Depth depends on your frost conditions, but typically 6 to 8 inches of compacted gravel above fabric.
- Compact in 4-inch lifts with a plate compactor.
- Check for level as you go.
Cost: Roughly $1.50 to $3 per square foot for materials, depending on your location. A 6-by-8-foot pad costs you somewhere in the $75 to $150 range for gravel alone.
Best for: Flat-ish yards, budget builds, beginner DIYers, mild climates without deep frost.
Concrete Slab - The Sturdy Long-Term Option
Concrete lasts essentially forever if you get the details right. It is more work and more cost than gravel, but for permanent installs in cold climates or under heavier saunas, it is the clear winner.
How to build it:
- Excavate to below frost line depth. In cold climates, this means 36 to 48 inches (90 to 120 cm) in some areas. Check your local frost line.
- Form with 2x6 or 2x8 lumber, braced firmly.
- Add 4 to 6 inches of compacted gravel base.
- Install rebar or welded wire mesh for reinforcement. Rebar on 24-inch centers in a grid pattern is standard for most residential slabs.
- Pour concrete, screed level, and float the surface. Cure for a minimum of 7 days before placing any load on it. Full strength comes at 28 days.
Pre-made concrete pads are worth considering. Several manufacturers sell pre-cast concrete pads in standard sizes (like 8x10 feet). You excavate, add a gravel base, and set the pad. It gives you the durability of concrete without the form work and pouring. Cost sits between gravel and a full pour, and for many situations it is the smartest middle-ground option.
Cost: A full pour runs $6 to $12 per square foot for materials and labor if you hire the pour, or $3 to $6 per square foot DIY. Pre-made pads fall in the $4 to $8 range.
Best for: Cold climates with deep frost, permanent installs, heavier barrel saunas, anyone who wants maximum longevity with minimal ongoing maintenance.
Deck Platform - When Your Ground Is the Problem
If your yard slopes significantly, has poor bearing soil, or sits in a flood zone, a deck platform lifts your sauna above the problems at ground level. It is the most expensive option, but it solves issues that gravel and concrete cannot.
- Footings must extend below the frost line, same as any permanent structure.
- Joist spacing at 12 inches on center for loads that include a sauna heater and several people.
- Use pressure-treated lumber for all ground-contact members.
- The deck surface should be at least 6 inches above grade to allow air circulation beneath.
Cost: $25 to $60 per square foot depending on materials, site conditions, and whether you build it yourself or hire it out. A small 6x8-foot platform easily runs $1,500 to $3,500 by the time you factor in footings, framing, and decking.
Best for: Sloped sites, wet or flood-prone areas, situations where you cannot achieve proper drainage at grade, anyone building an elevated sauna entry.
Will Sauna Heat Crack My Concrete?
This comes up constantly, so let me clear it up.
No. Sauna temperatures at floor level (typically 65 to 80 degrees Celsius / 150 to 175 degrees Fahrenheit) do not approach the levels that affect cured concrete. Concrete tolerates hundreds of degrees in industrial settings. Your home sauna is not a threat to a properly cured slab.
The real concrete enemies are moisture from below and frost heave. Make sure your gravel base drains well and that water cannot pool beneath the slab. An 8-inch lip around the perimeter, sloped away from the foundation, handles most drainage concerns.
Do You Need a Permit?
Probably not, but one phone call settles this for your specific situation.
Most municipalities exempt detached structures under 200 square feet from building permits. Yours may differ. Zoning rules tell you what you can build; building codes tell you how you must build it. Check both before buying materials.
The distinction that trips people up: zoning tells you where and what you can build. A building permit confirms the how. You can comply with zoning and still need a permit.
If your sauna is under 200 square feet and sits more than a set distance from your property line (often 5 to 10 feet, varies by jurisdiction), most places you are in the clear. Call your local building department. It takes 10 minutes and removes the risk.
Quick FAQ
How deep should my sauna foundation be?
Gravel pads typically need 6 to 8 inches of compacted material above fabric, sitting on 4 to 6 inches of excavated soil. Concrete slabs need to extend below your local frost line, which in cold climates can be 36 to 48 inches (90 to 120 cm). Check your local frost depth rather than guessing.
What is the cheapest foundation option?
Gravel pad. Materials run $1.50 to $3 per square foot. It is the default recommendation for most backyard situations.
Can I build on a slope?
Yes, but the solution depends on the severity. Moderate slopes work with a gravel pad built up on the low side. Steep slopes or taller retaining requirements mean a deck platform is the more practical choice.
How long does concrete need to cure before placing a sauna?
Minimum 7 days before any load. The concrete reaches roughly 70 percent of final strength by then. Wait 28 days for full strength. Rushing this is the most common concrete mistake.
Does the foundation need to be perfectly level?
It needs to be close. A half-inch of variation across a 6-foot sauna is fine. More than that and doors may stick, heater clearance becomes inconsistent, and water drainage inside the sauna won’t work as designed.
Can I use paving stones instead of gravel or concrete?
Paving stones over a gravel base with proper compaction can work for smaller, lighter saunas. They are not ideal for heavy barrel saunas or in frost-prone areas because they can heave individually. If you go this route, use edge restraints and compact the base as thoroughly as you would for a gravel pad.